
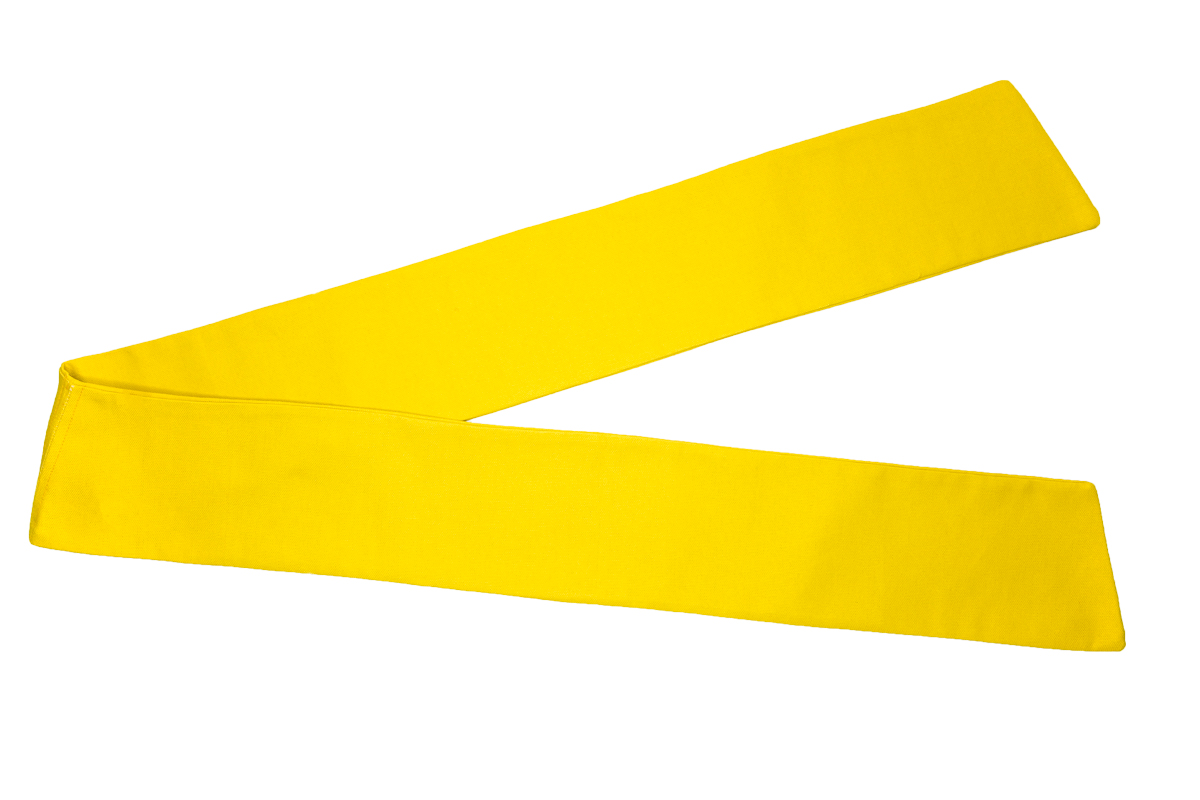
I made this little sash to wear some of my favorite pins, when it was just too dang hot to wear my denim jacket. I really love it!
If you don't have time, or you haven't learned to sew yet - click the button below to purchase a finished sash instead!
Please note that this pattern is intended for personal use only and should not be used to produce items to sell.
You’ll need:
fabric (I used heavy duck canvas to better carry the weight of the pins)
fabric measuring tape
straightedge ruler
scissors and/or rotary blade and cutting mat
iron
paper (you’ll need to tape sheets together to make your template, unless you have a roll of newsprint or something similar)
straight pins (if you are fancy, patient and cautious)
fabric marking pencil
sewing machine
thread to suit your fabric
comically large safety pin
clean pointy thing (like a chopstick)
My template is based on ladies I measured, ranging from 5’ to 5’11” tall, approximately Size 4 to 14 (US Ladies sizing) - and there’s some room for sizing to fit when pinning it closed for wearing. Measure yourself first, just in case!
Feel free to make yours as long and wide as you need it to be. Do this by using a fabric measuring tape from your left shoulder to your right hip, and adding a 2-5 inches for overhang and seam allowance. If you want it to be wider, measure your shoulder width where you’ll be comfortable wearing it, and add ½” - 1” for the seam allowance.
For instructional purposes, I will use the sizing of my template as a reference in the instructions. Replace them with your measurements, as needed.
Let's do this!
1. If you don’t have a roll of paper, determine how many sheets of paper you need to tape together to make a 30” x 5” rectangle. Tape them together, and trim to size. I used thick paper because I happened to have some huge sheets on hand.
2. Once you have the 30” x 5” rectangle cut, measure 2” from the short edge on both sides, mark, and use a straightedge to draw a line from the lower corners to your marks.
3. Cut along your lines.

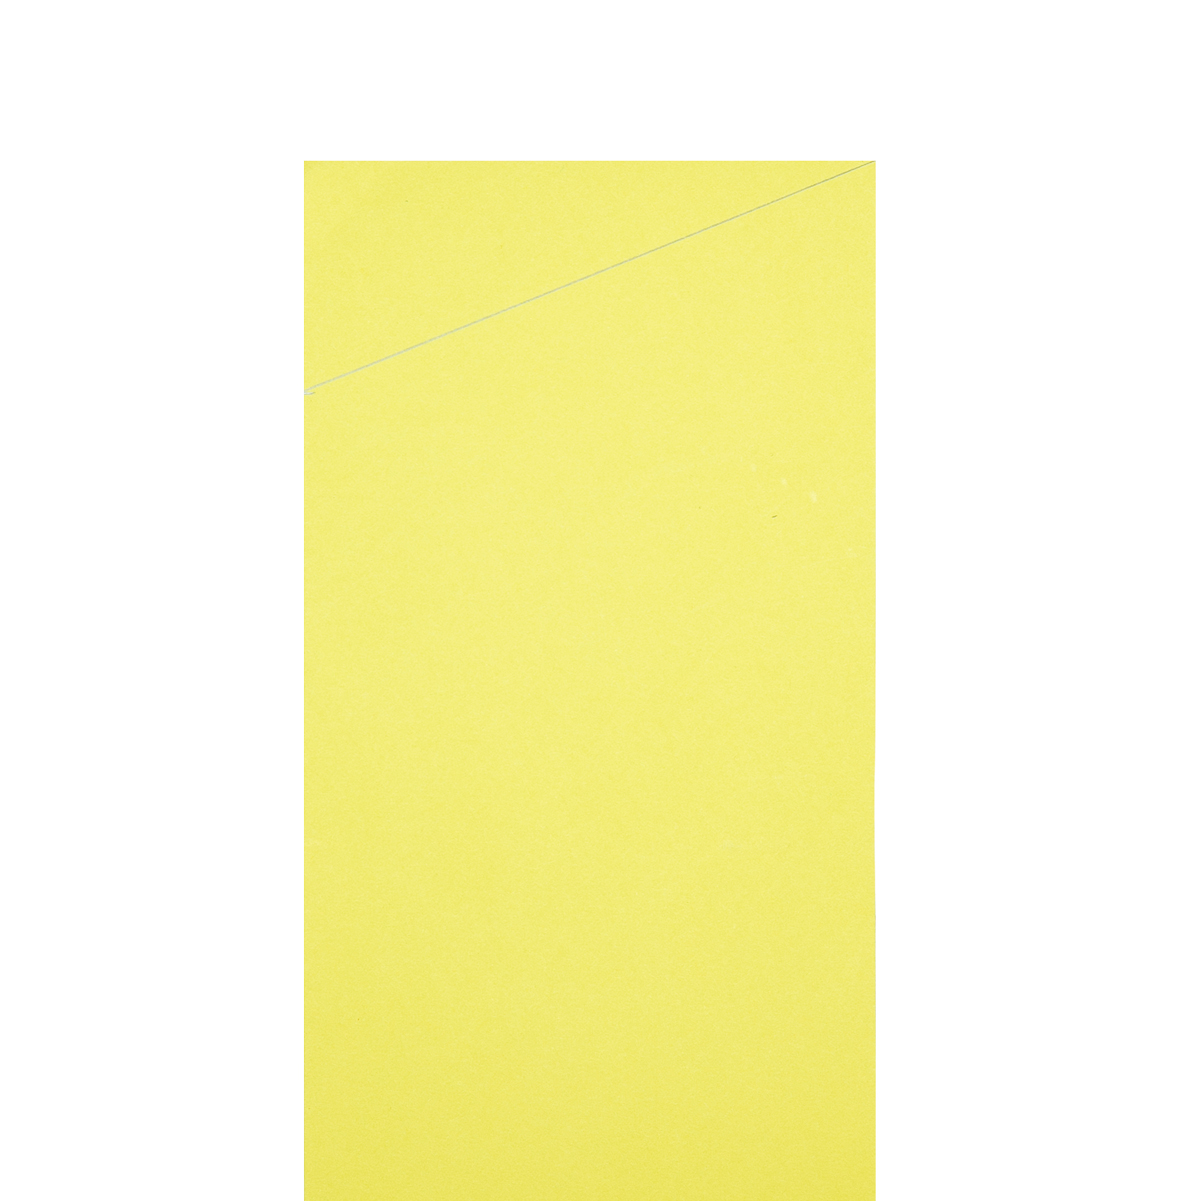

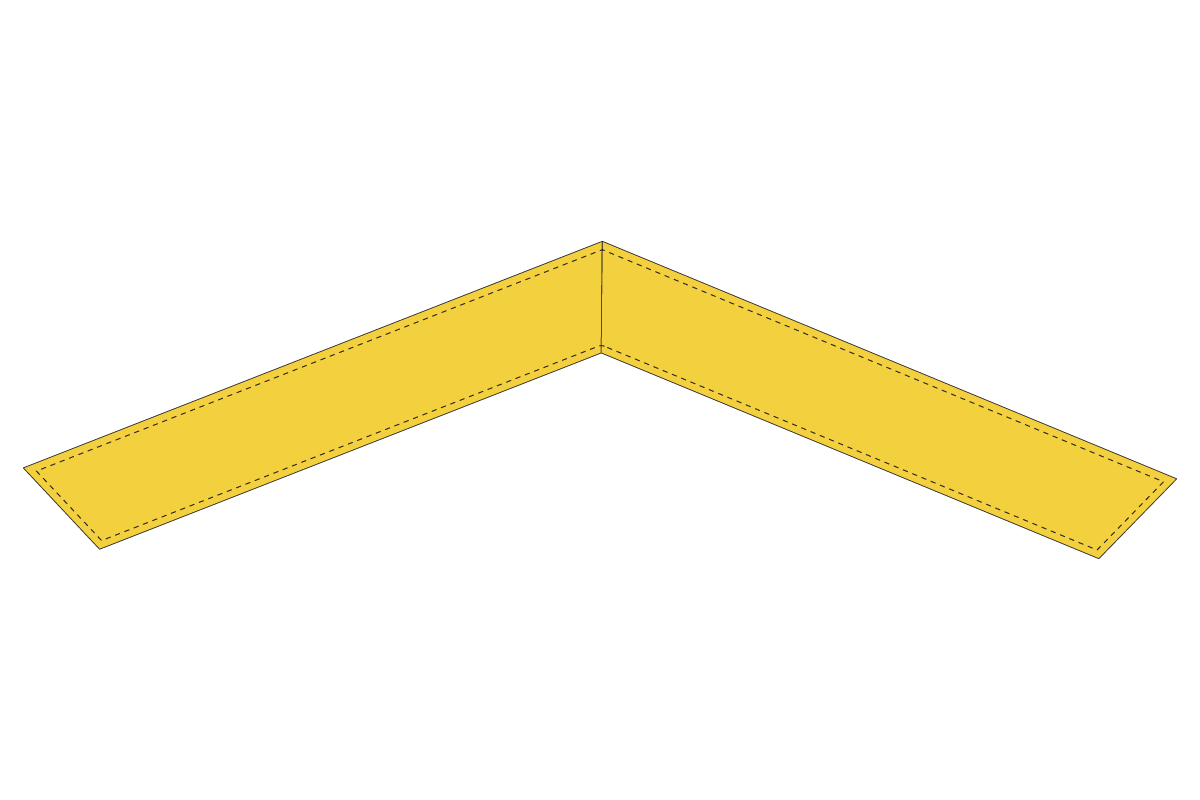
4. You should now have a trapezoid!

5. Whip out that fabric, baby!
6. If you’re comfortable with cutting multiple thick layers of fabric: fold it over to cut 2 pieces at a time. If you would prefer to cut one piece at a time: feel free to lay your fabric out flat in a single layer. Just keep in mind you’ll need 4 identical pieces.
7. If you are fancy and have patience, you’ll want to use straight pins to attach your template to the fabric. I have no patience for that, so I just held my template in place and marked around it.
8. I marked the first one on the edge of the folded fabric, then flipped the template over, aligned it with the long line from the first mark, then traced again. If you’re better at cutting than I am, you’ll likely waste less fabric this way.
9. Cut your fabric into the template shapes! If you happen to have a large cutting mat and a rotary blade, you are fancier than I am, and you should use them. I used scissors.
10. You should have 4 beautiful trapezoid fabric pieces!
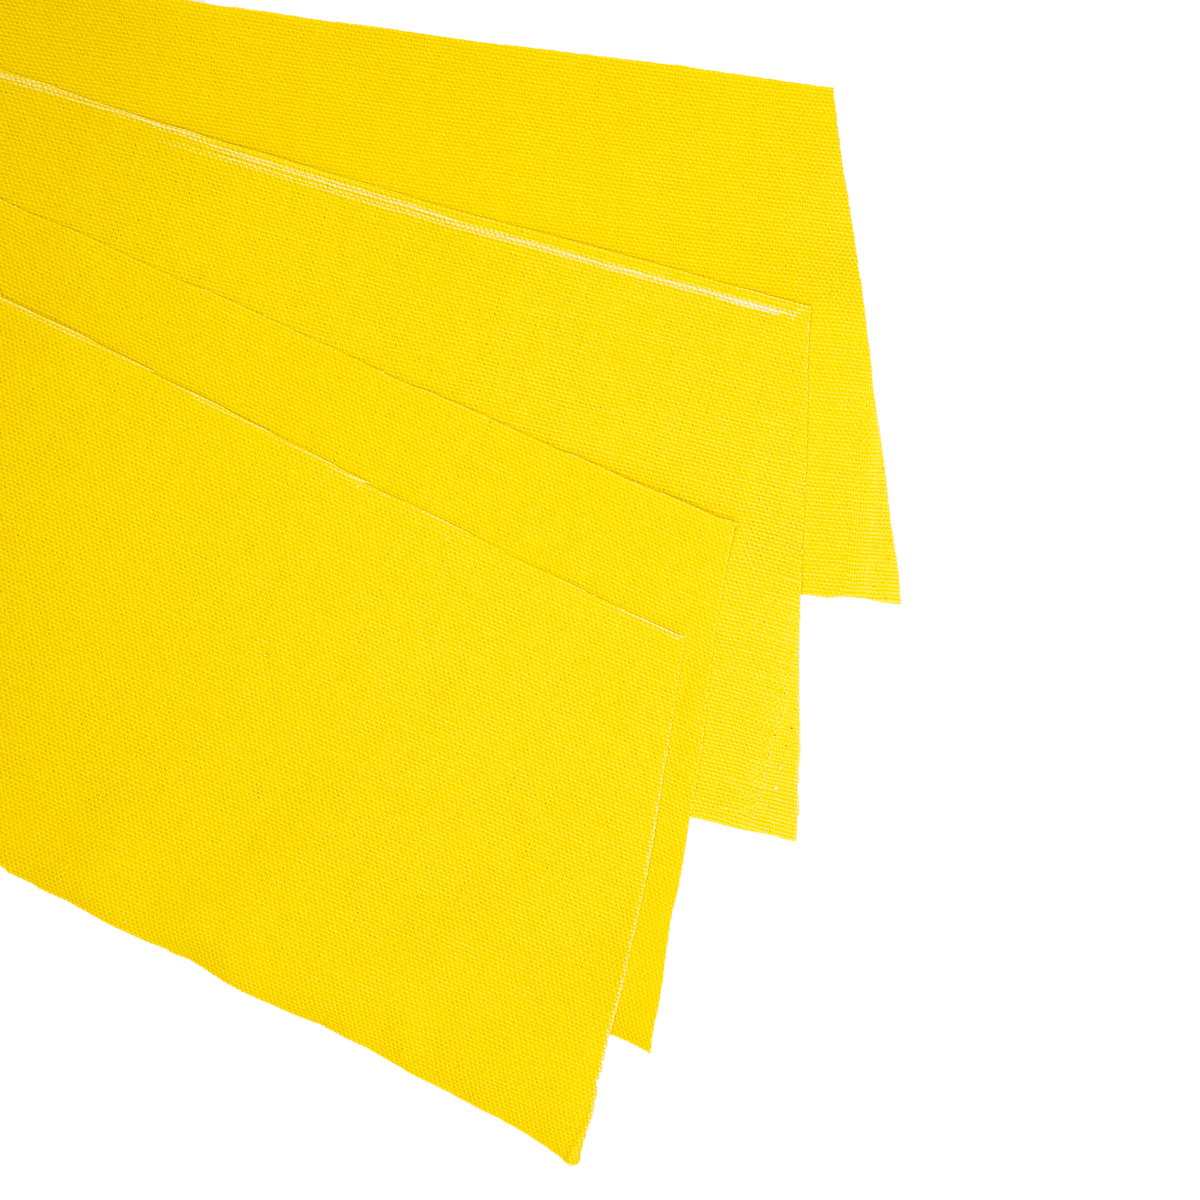
11. Make two stacks by matching them up and facing the good sides together, with the backs are on the outside.

12. If you’re one of the fancy, patient sewists reading this: go ahead and use straight pins to hold the short ends together on one side of each stack.
13. If you’re playing it fast and loose like I did: just hold them together firmly, making sure they stay lined up.
14. Make sure your sewing machine is threaded and let’s sew these puppies!
15. Stitch a straight line across the short edges of one of your stacks.
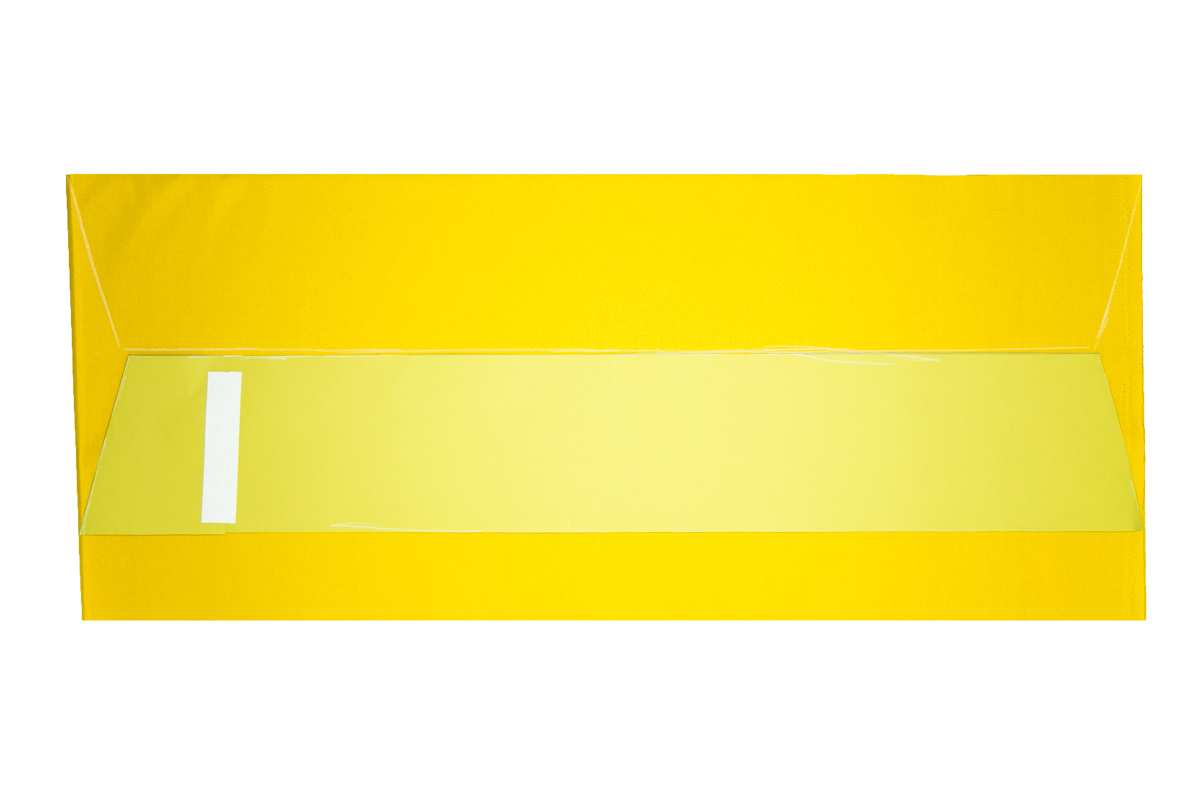
16. Stitch a straight line partially through the second stack’s short edge, skip 3”, then stitch the rest of the line. We’re going to use that gap to turn the sash right-side out later! (If you don’t leave a large enough gap, don’t worry. You can open it up more if you need to when it’s time to turn the finished piece.)
17. With both stacks sewn on one edge, open those babies up!
18. Iron your seams open so you’ll have a flatter surface to stitch later.
19. Stack the open pieces with good sides facing, matching the angles so all edges line up.
20. Fancy sewists: break out those straight pins again, and secure all edges to prepare for sewing. I skipped this, but you probably shouldn’t.
21. With your edges secure, stitch along all 4 edges with an 1/4” seam allowance. Take it easy around the corners, it’ll be tough to stitch through the ironed seams since it’ll be 4 layers of fabric in those tiny areas.
22. With all edges stitched, clip the excess fabric at the corners to remove bulk fabric.
23. Turn it through the hole you left open in the center/shoulder seam, using a pointy thing to shape your corners. I used a paint brush handle because it was within reach, but a chopstick or something similar will work.
24. Roll the edges as needed to open the sash up as much as you can, so the seams are all the way at the edge and the sash is as wide as it’s supposed to be. Use that pointy thing as needed to help the seams open up to the edge.
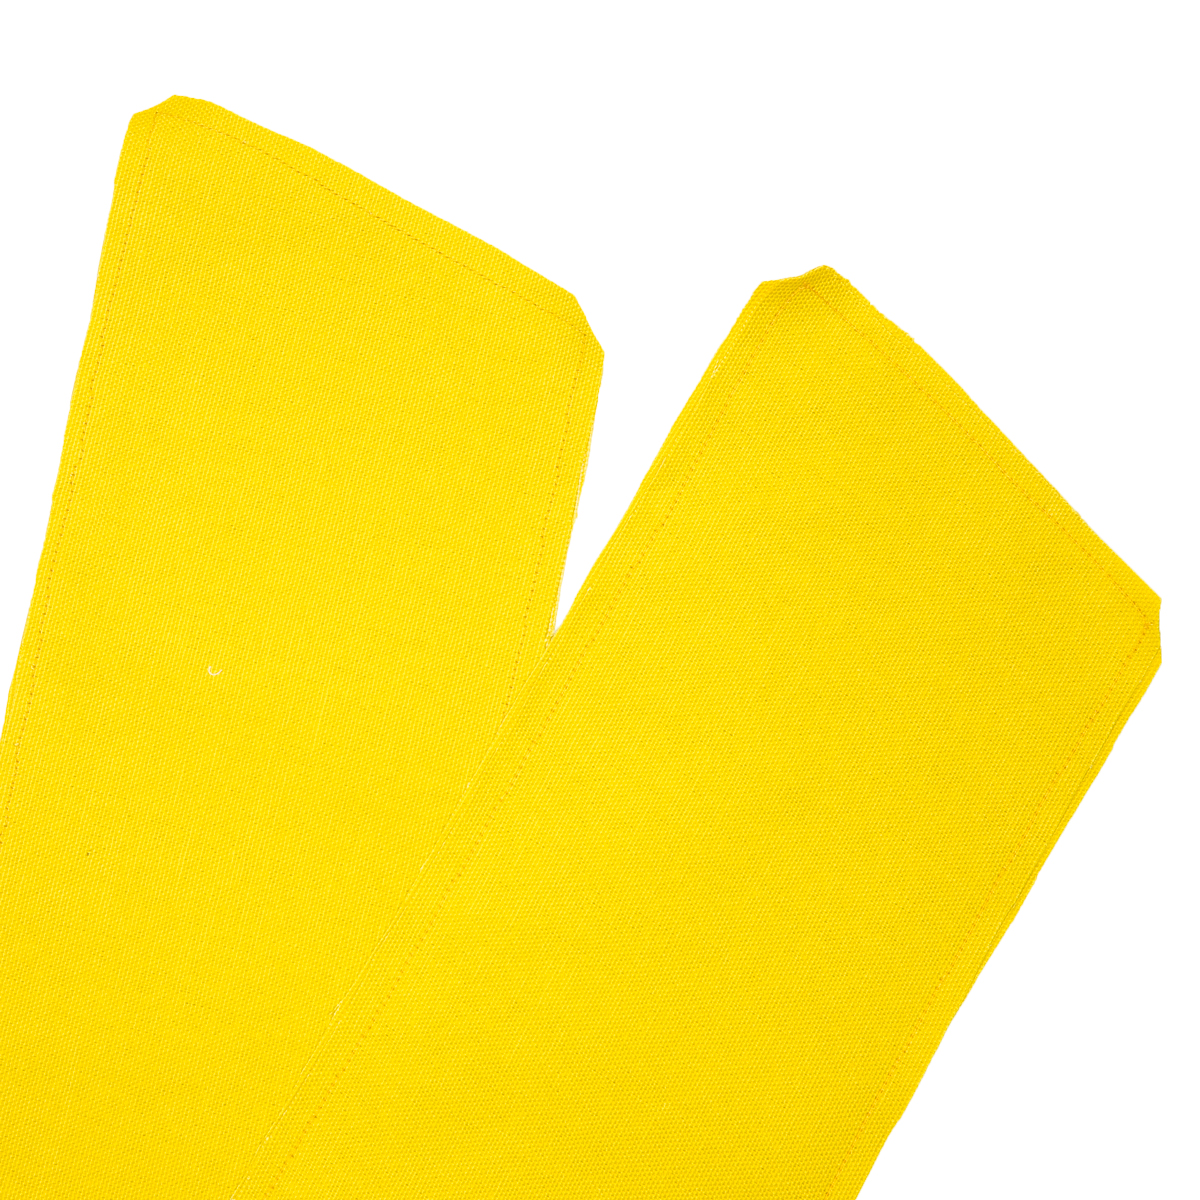
25. Iron it nice and flat.
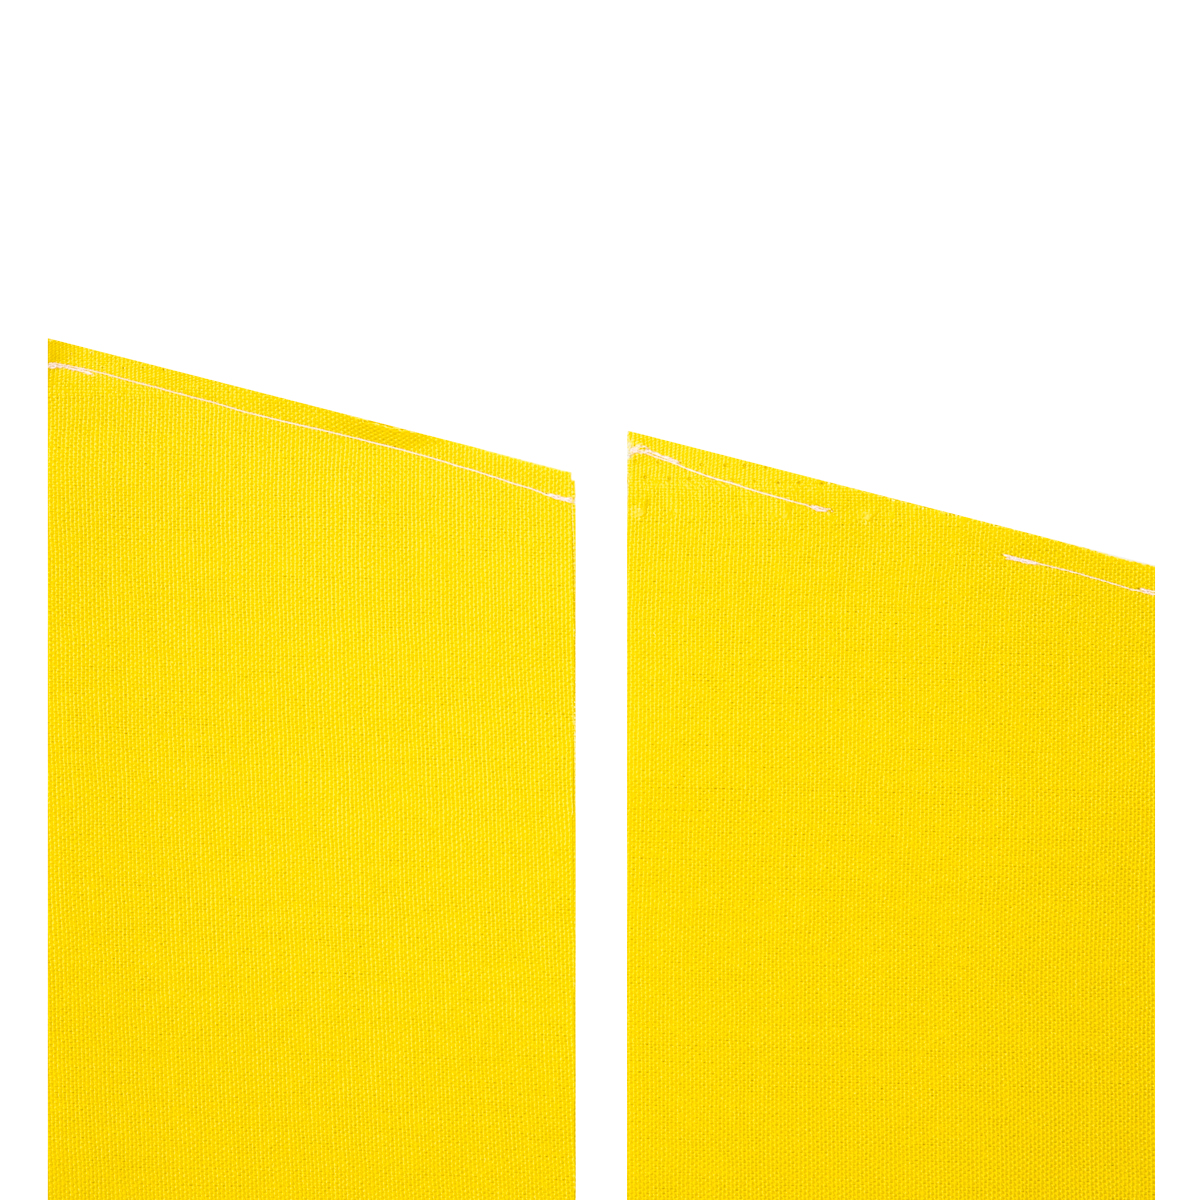
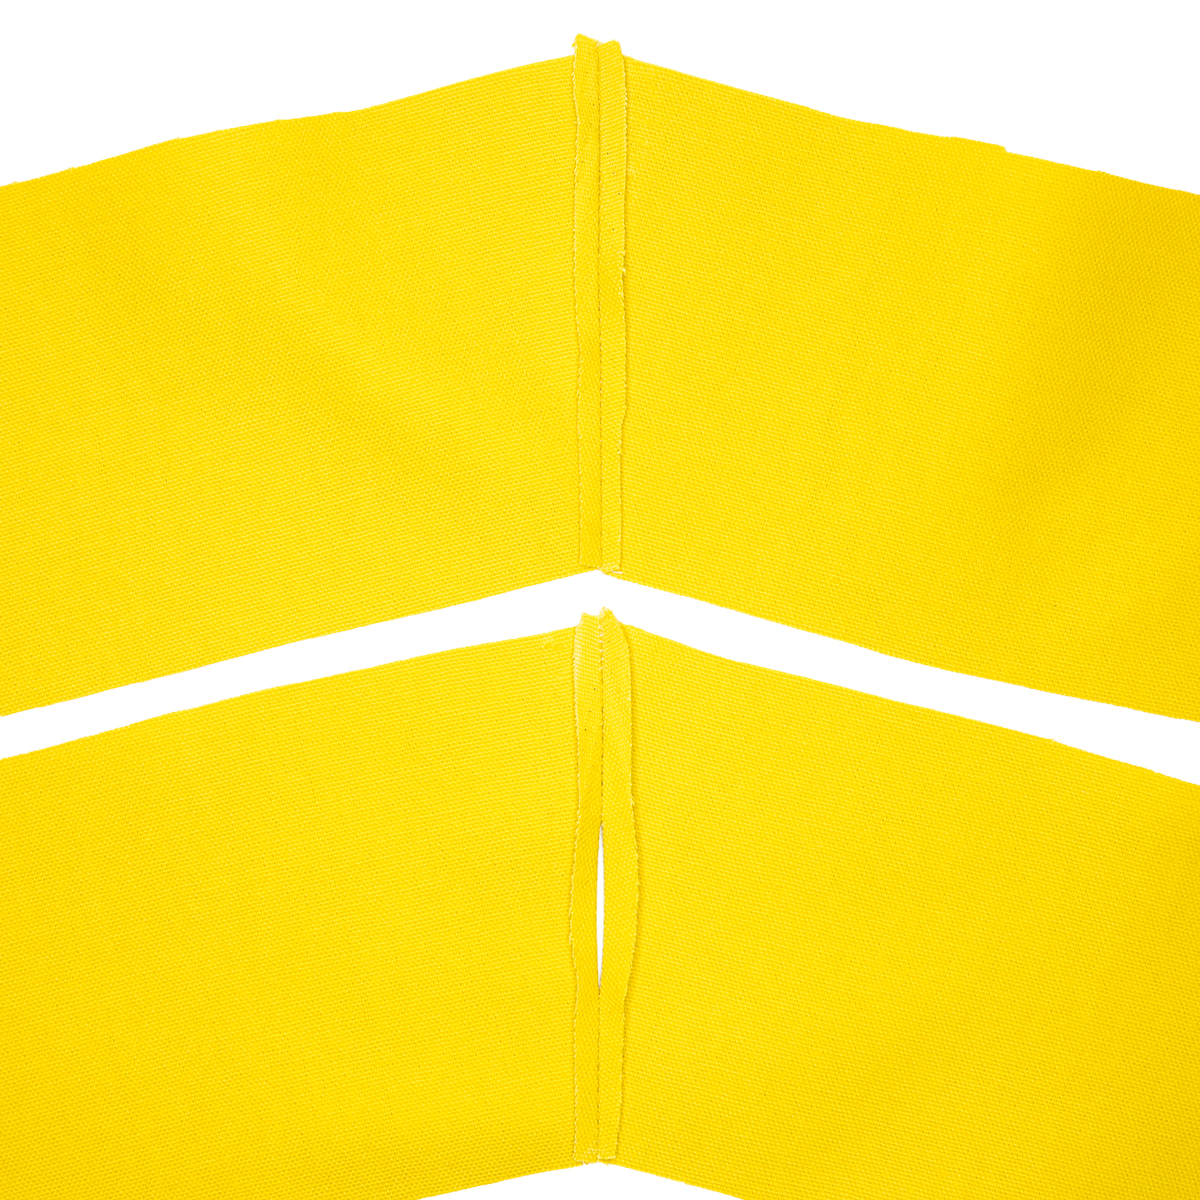
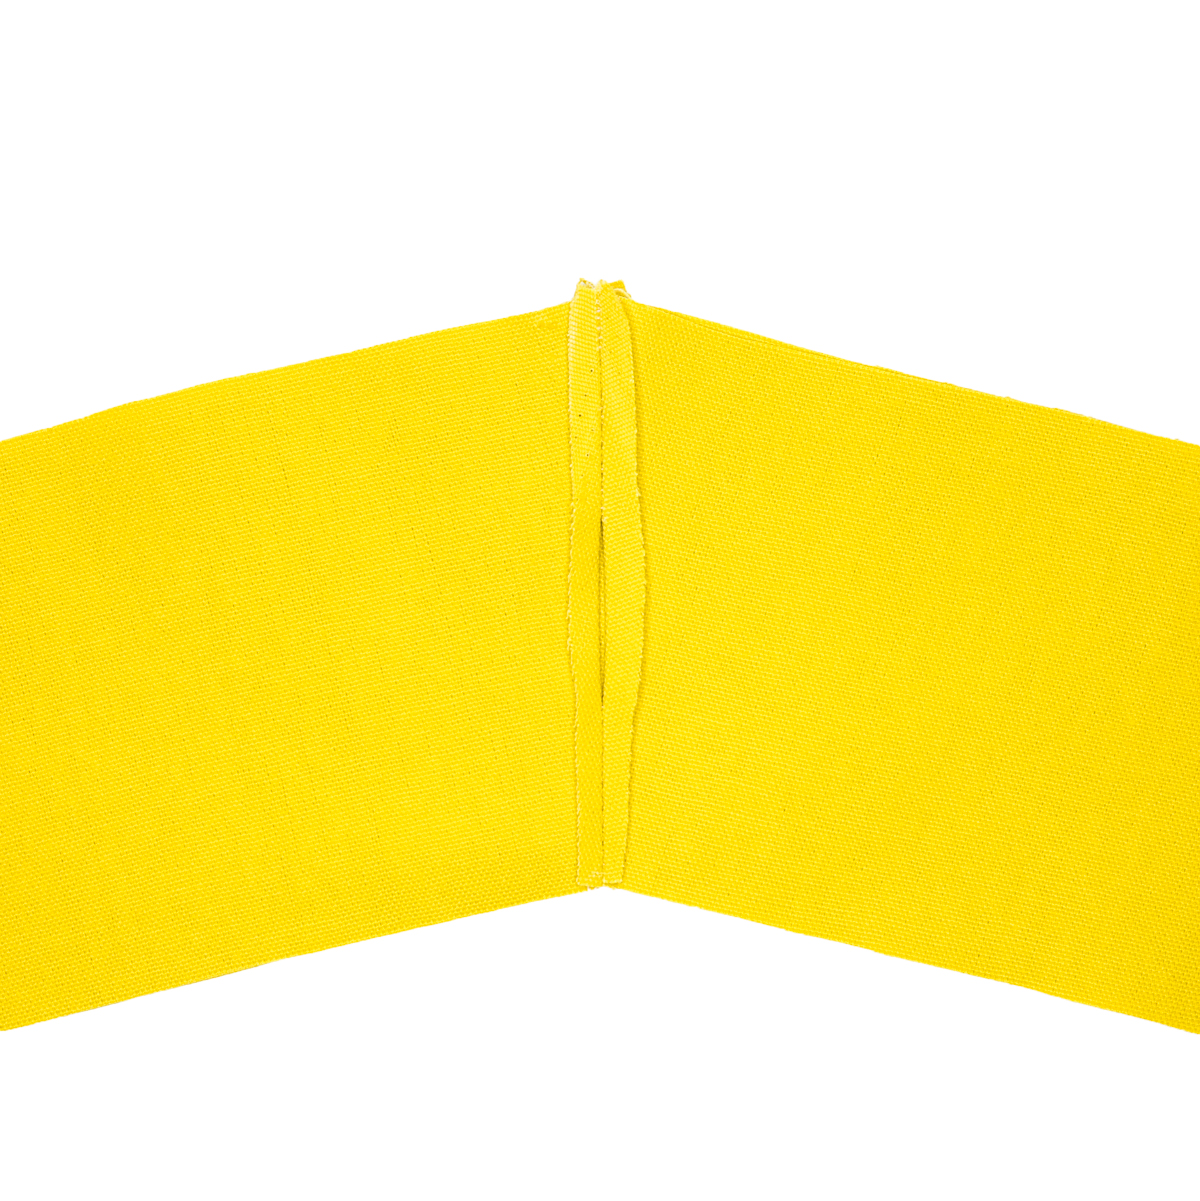
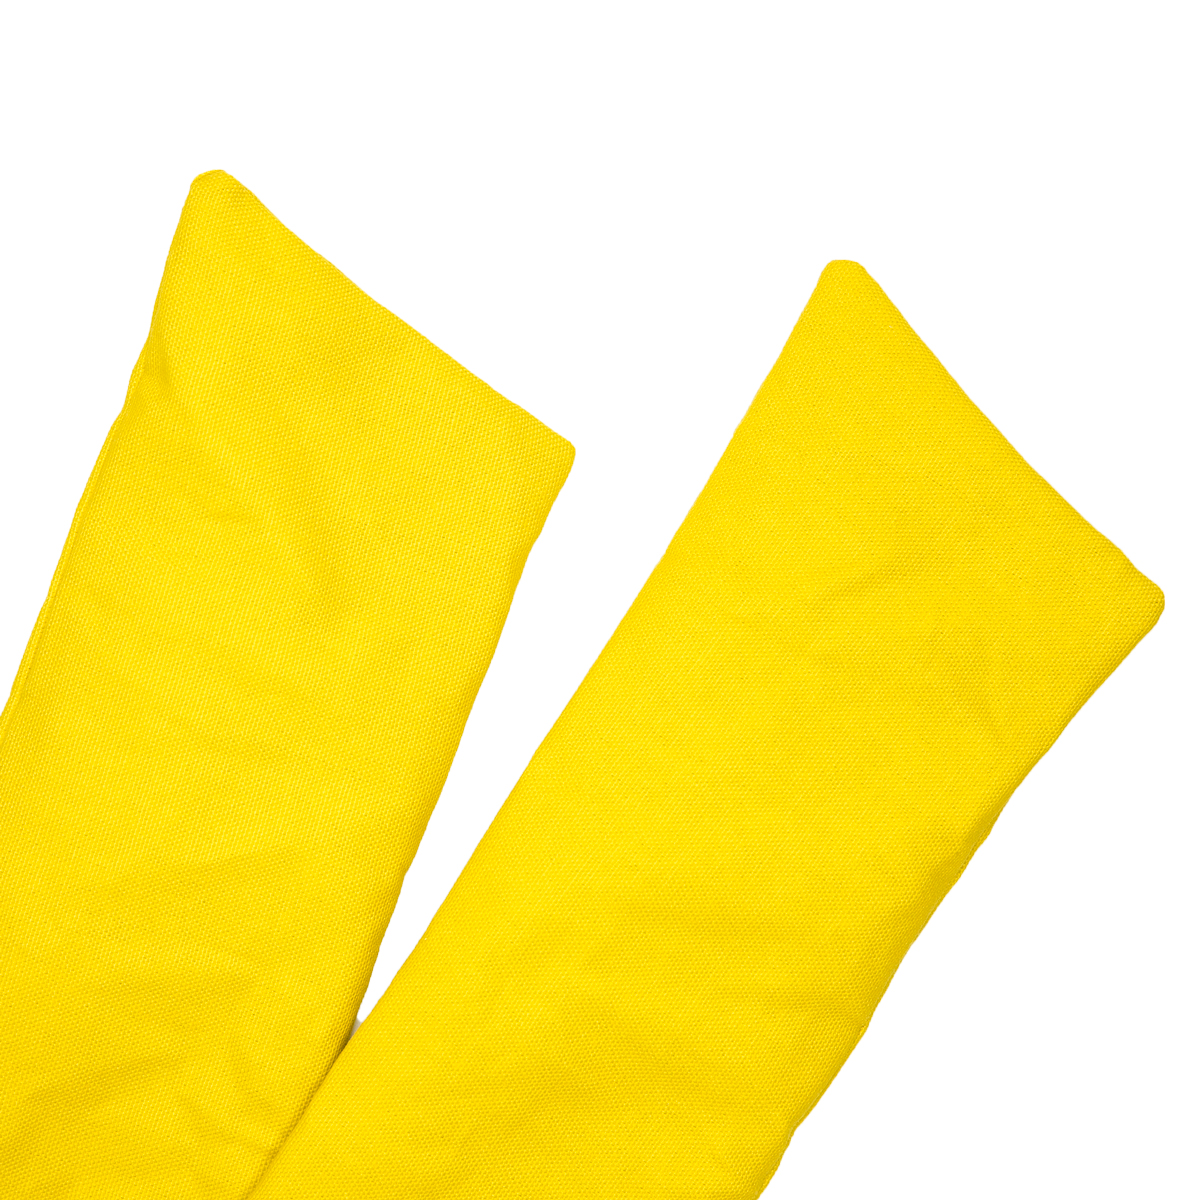
26. At this point, you can choose to either stitch the open shoulder seam closed, or leave as the inner/under seam so it isn’t facing out when worn. A whip stitch (if you’re fancy) is ideal, but you can also just top-stitch the seams closed if you’re okay with that being seen on the outside/top of the sash. I used a top-stitch, which you can see on the left in the last photo. Below is how the seam appeared before stitching.

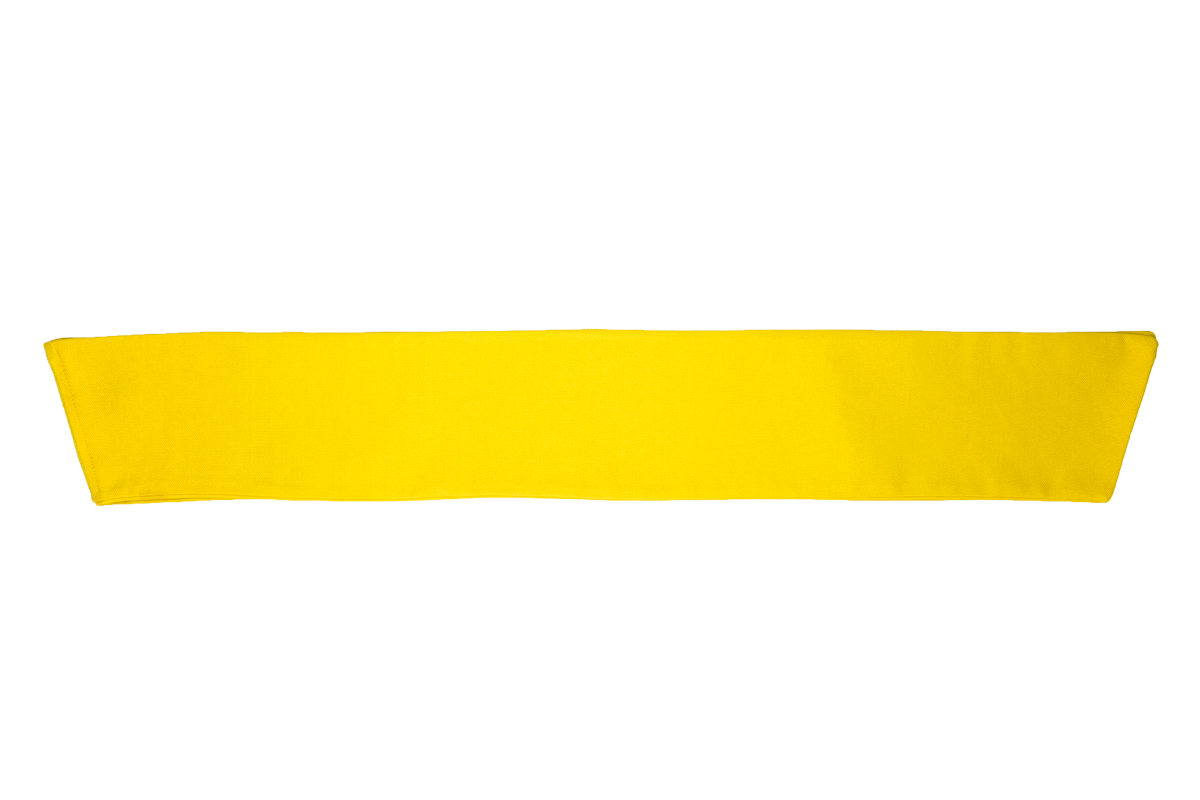
27. Take your beautiful new sash, throw it over your shoulder, decide where you want to pin it closed, and take your comically large safety pin to close it up!

If you made the thing, show me! I’d love to see your pins and patches being worn on this sash!
I stitched my name onto mine once it was completely assembled because I just had to finish sewing it, but it’s better to stitch your name onto a piece before sewing, so you can hide and protect the backs of the stitching inside the sash. I recommend doing this between steps 18 and 19, so you can measure how far down from the seam you want your name stitched.